February 2010
Cut angle profile to build the square frame that holds the Cube in place at the top of the Cube Box. Study and develop a detail for the corner connection that holds the frame together.
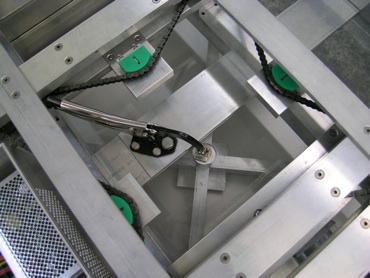
Design and build a detail (corner plates) to attach the cross to it that is part of the spring loaded clamping mechanism holding the Cube in place.
Cube Box (2006 - 2010)
Progress January - February 2010


January 2010
To be able to attach a sheet of Plexiglass on top of the box later on a horizontal bar is added to the frame-angle on all four sides. The corners therefore have to be reinforced and some other adjustments have to be made.
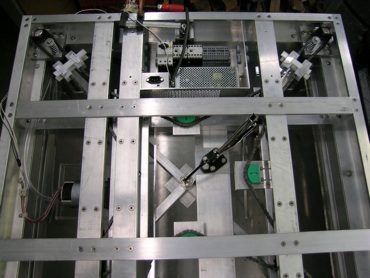
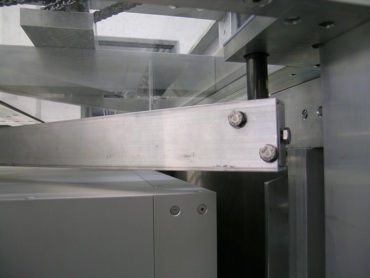
The design of the clamping mechanism that locks and unlocks the square frame holding the Cube in place at the top is finalized and built.
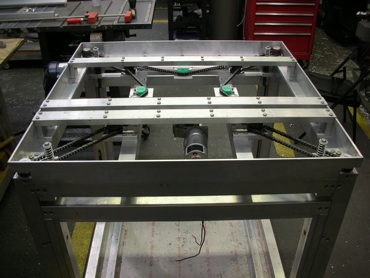


Horizontal bar that is added to the frame- angle
The clamp that mechanically activates the mechanism to lock and unlock the Cube in place


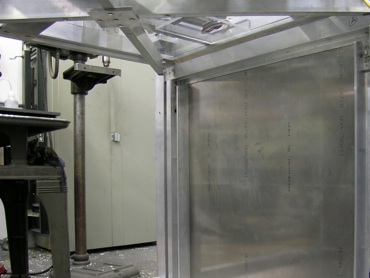
A horizontal, clear Plexiglas platform (splash guard) is built in to protect the Cube from possible splashes of oil or grease from the chain mechanism above. In order to clear the motor housing a cavity for it has to be built.
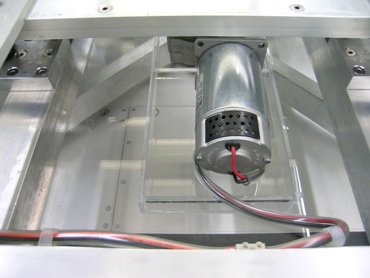
Plexiglas cavity for the motor housing
Plexiglas platform (splash guard)


Chain mechanism
The clamp that mechanically activates the mechanism to lock and unlock the Cube in place


Fabricate a cross shaped structure that attaches to the spring-loaded bolts in the four corners and will be pushed down by the mechanical clamp capturing the square frame holding the Cube in place on top of the box. The center of the frame as well as the four ends need a lot of detailing work (force of the clamp in the center, attachment of the spring-loaded bolts in the four corners).
Cross shaped structure
Enforcement plate in the center of the cross


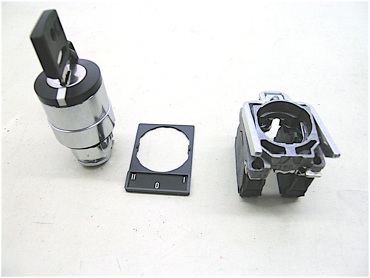
There are always little challenges when you do prototype work as with this main switch I ordered from Europe. How do you mount this thing? There are no instructions included because I just can imagine how this switch mounts to a norm panel with the ease of a click. Good luck (turns out, that by pressing a lever on either side of the switch the hole thing separates into two pieces)!


Spring-loaded bolt
Detailing of one end of the cross


